
The first step of braiding hairstyles is to make sure that the hair is clean and dry. The second step is to divide the hair into three sections, from front to back. For each section, take 3 medium sized strands of hair from one side and start a braid by crossing them over the other 2 strands on top of it. Take these 3 strands and cross them over again with the left strand going under the middle strand, then under right strand before coming up on top as you cross it over. Now take the left strand and do the same thing, going under the middle strand and then over the right. This is how you start a braid.
To continue the braid, hold on to all of those strands as if it’s one big piece of hair, and start picking up more hair from underneath to add into the braid. Every time you add in new hair, cross these new strands over the old ones. Once you’ve added enough hair in (usually about half an inch), then switch hands so that you’re holding onto the braid with your other hand and continue braiding with your dominant hand. When you get to the end, secure it with a small elastic band or tie off with a piece of ribbon.

Here are six different braiding hairstyles that you can try with your kids:
French braid:
The French braid is one of the most popular braids, and it’s pretty easy to do. Start by dividing the hair into three sections like normal, then take the right section and cross it over the middle section. Now take the left section and add it in by crossing it over the right section. Next, take the new left section and cross it over the old middle section. This is how you continue a French braid. Make sure to add in new hair from underneath as you go along so that the braid gets thicker. When you reach the end, tie off or secure with an elastic band.
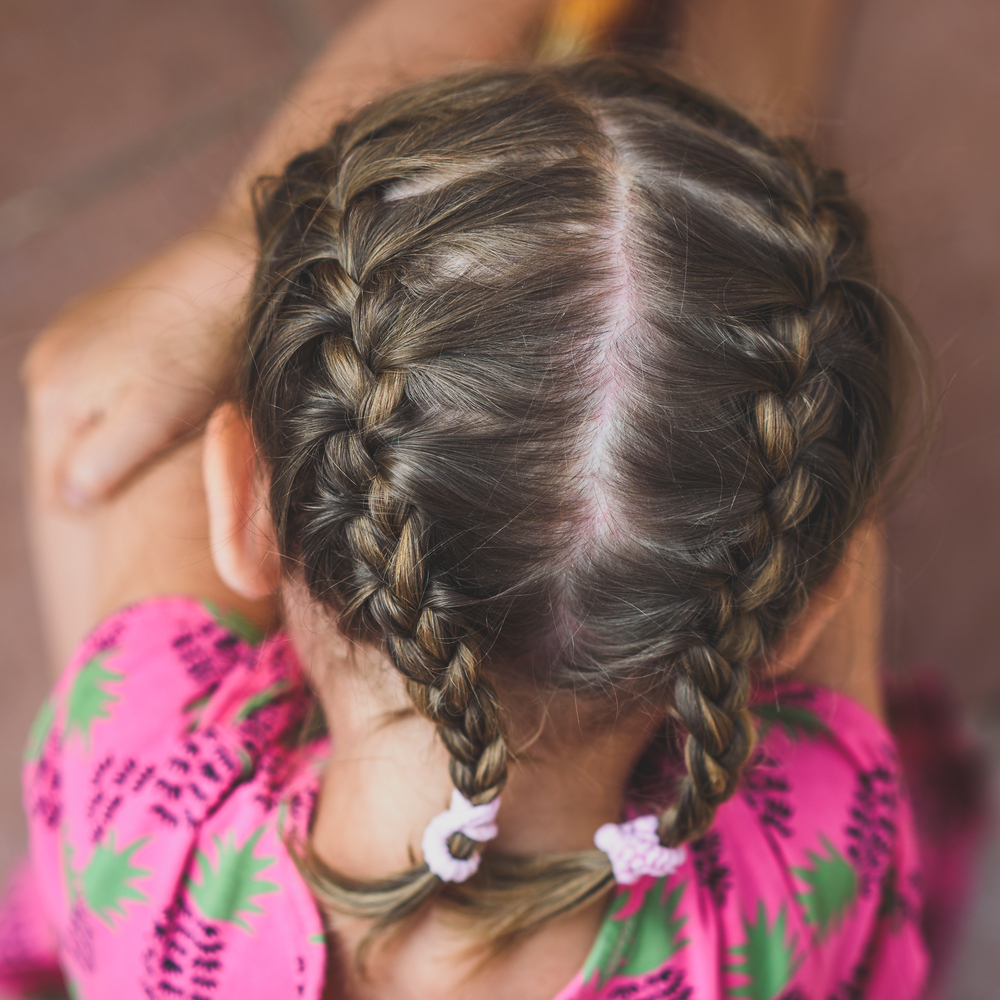
Dutch braid:
The Dutch braid (or as I like to call it, the dutch-braid) is just a variation of the French braid. After you’ve divided hair into three sections, cross over right section over middle section as normal. Then add in new left section by crossing under old center strand and then coming up on top again before going underneath right strand and through the loop that was created at the start of this step. Now take these strands (the two from both hands) and cross them each other so that they are now crossed in an X pattern instead of a line across – hence why we called it “Dutch”.
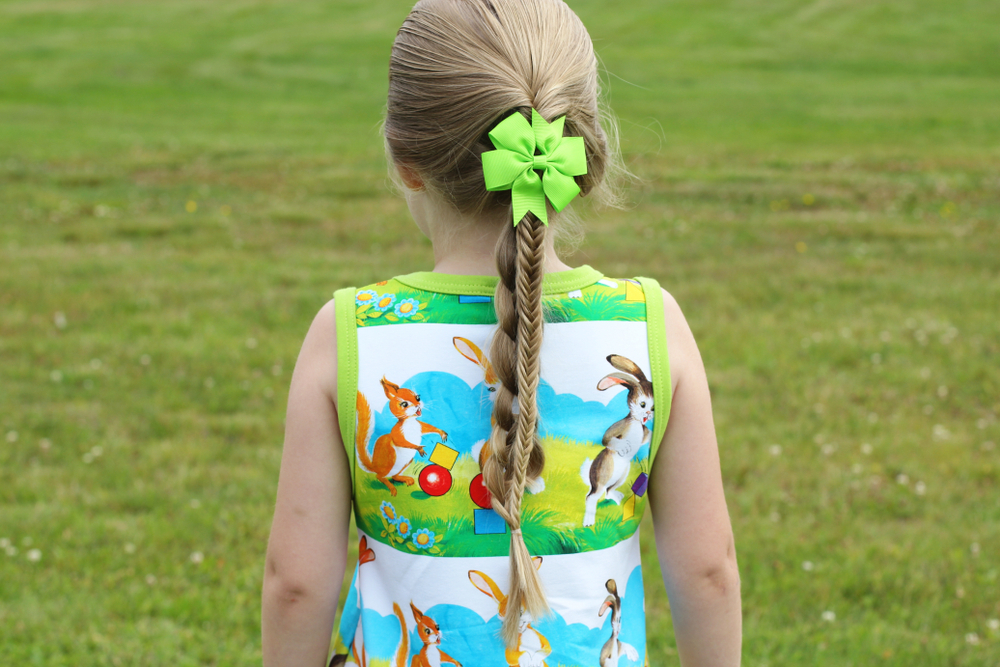
Fishtail braid:
The fishtail braid is another one that’s very easy to do because all you have to do is keep adding little bits onto your original three strands. Take the right section and cross it over the middle, then take the left section and add it in by crossing it under the right. Now just keep repeating this process, adding new hair each time from underneath, until you reach the end of your braid. Secure with an elastic band or ribbon.
Waterfall braid:
The waterfall braid is a more complicated looking braid but it’s still not too difficult to do. After dividing hair into three sections, take the far right strand and cross it over the middle one. Now drop that strand down and pick up the new far left strand to add in by crossing it over the old center one. Next, take the old right strand and add it in by crossing it over the newly added left strand. Just keep repeating these steps, picking up new hair each time and adding it in by crossing over the old center strand, until you reach the end of your braid. Secure with an elastic band or ribbon.
Lace braid:
The lace braid is a really pretty hairstyle that’s perfect for special occasions. After dividing hair into three sections as normal, take the right section and cross it over the middle section. Now take the left section and add it in by crossing under the right. Next, take a small piece of hair from underneath the left section and add it to the right section (this will become your new left section). Now cross over this new left section over the old middle one. Take a small piece of hair from underneath to add to the right section (this will become your new middle strand). Now cross this over the old left section. Repeat these steps, adding in new hair each time and crossing it over the previously added strand until you reach the end of your braid. Secure with an elastic band or ribbon
Fishtail French braid:
The fishtail French braid is a combination of two braids: we’re taking both parts from a regular french braid and combining them to make one. So after dividing into three sections like normal, take the far right strand and add it in by crossing under center strand as usual for a fishtail braid. Then take that same piece of hair – which should still be on top at this point – and start doing what would normally be done to do a full French braid. When you reach the end, secure with an elastic band or ribbon.
Now that you’ve learned six different braiding hairstyles for kids, why not try them out? You can either do one new style every day this week or pick a special occasion and do all of them then! And if you don’t like any of these styles because they just aren’t as pretty on your daughter’s hair as they are in pictures, check back to our site often – we will be adding more braiding hairstyles soon! If there is another type of braid for girls (or boys) that isn’t listed here and you’d like us to add it, let us know by leaving a comment below. We would love hear from you all!