
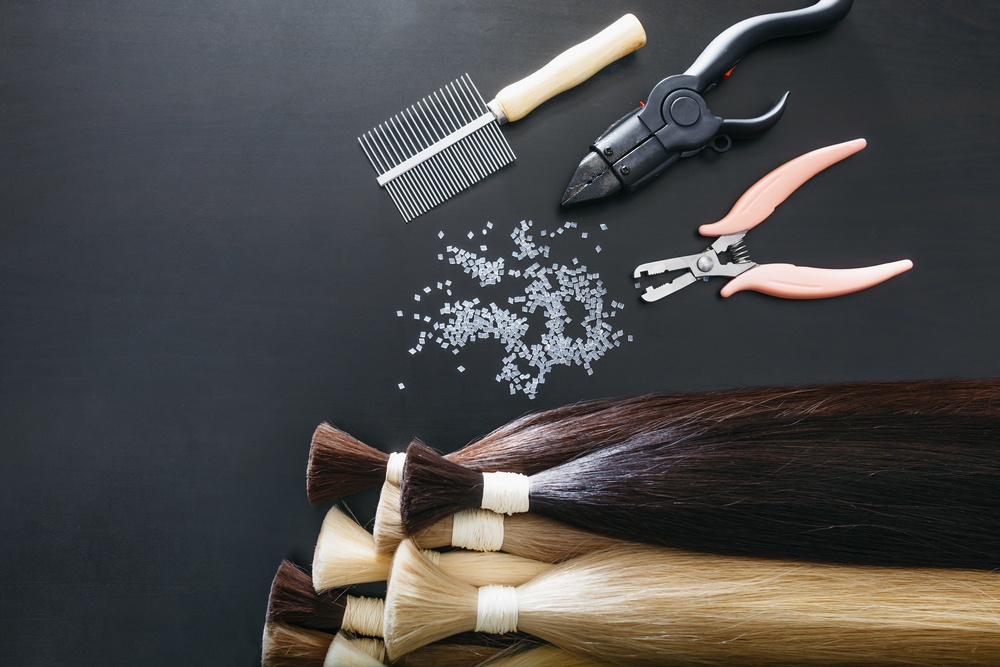
Do you want to learn how to install and remove hair extensions with ease? You are in luck! We will be discussing the necessary tools required for installation, as well as the best ways to take them out without damaging your natural hair.
This blog post will help you become a pro at how to install and remove hair extensions strips.
Installing weave hair extension strips:
There are many methods to installing weave hair extensions.
First thing to consider
The first thing you will need is an adhesive that secures your weaves firmly in place and ensures they won’t slip out even during the most active of days. You can purchase a pre-made or make it yourself, as long as it’s strong enough for your needs. However, be sure not to use too much glue! It should evenly coat each strand without any excess on your fingers when applied correctly. If there is a lot on one area of hair but not another, this could cause slipping and sliding throughout the day leading up to complete slippage into bed at night – ouch! We recommend using a “dab” method with equal distribution over every area of hair.
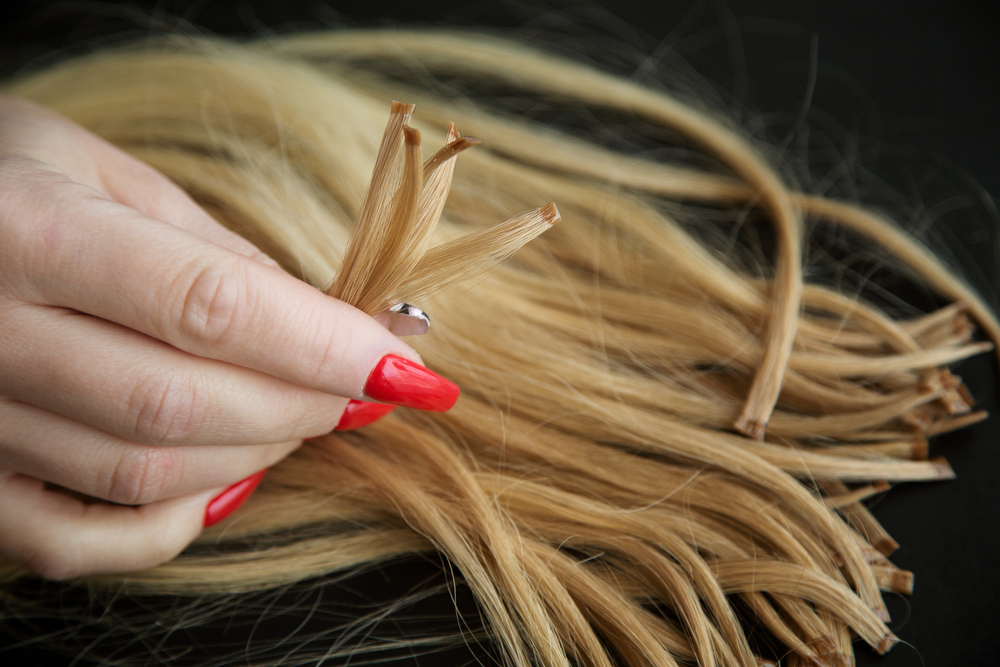
Now, take your weave and make sure it is pointing in the direction you want for installation (I prefer to clip up my wefts on top of my head).
Take a strand or section of natural hair and apply glue to the strands (hair extension too) before sticking them together. This will keep your natural roots safe from chemicals found in most adhesives. Make sure that this area has been thoroughly coated with glue so there are no gaps between glued areas when finished! Continue applying small sections until all extensions have been added. Let dry completely before moving forward!
My favorite method was using bobby pins along the perimeter edge while I sleep each night –if you ask me If done correctly, they won’t slip or fall out.
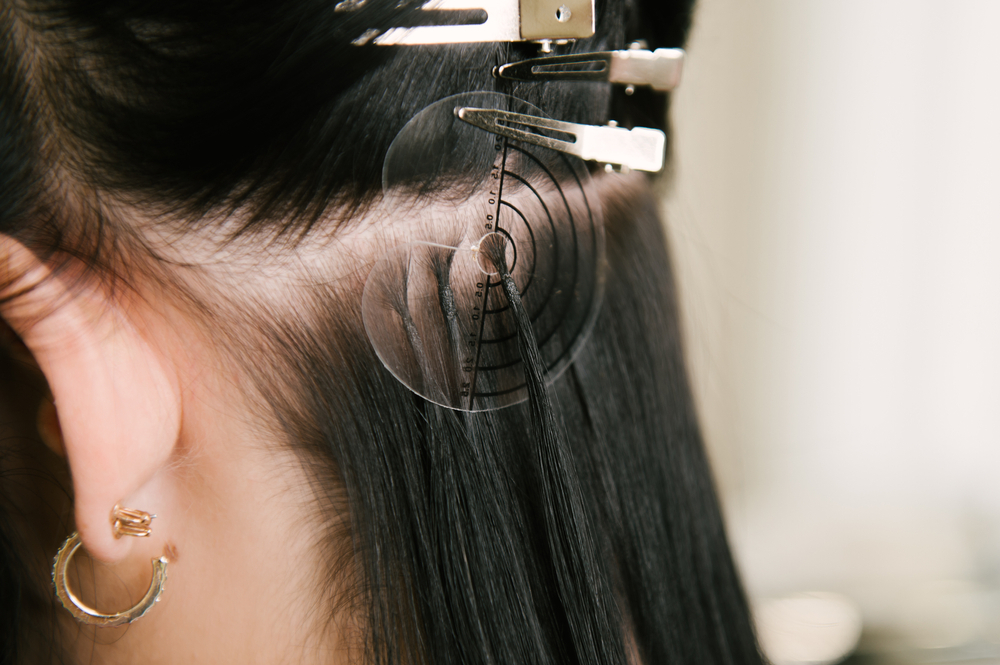
Second thing to consider
Second thing to consider is the best method for weft attachment to your natural hair.
There are many methods you can try; however, it’s important not to damage your roots by over-processing with heat or chemicals. We recommend using a mesh cap and sewing through each track of extensions on top of the mesh then back down into tracks underneath – this ensures that they won’t slide out while sleeping at night! You could also use clips along the perimeter if you weave hair extension has been cut short enough so as not to protrude from under your sew in. Continue securing until all pieces have been attached and securely fastened. If done correctly, these should last throughout even the longest days without slipping or sliding out!
Third thing to consider
Third thing you will need to know is how often you should be removing and replacing your weaves.
This can vary from person to person, depending on the amount of wear and tear that goes into their hair extensions as well as how fast they grow! Some people like to change them every four weeks; however, this isn’t necessary if taken care properly – some women have had them in for up to six months without any issues. If you want a more long-term solution with less hassle involved, make sure you purchase quality products which won’t tangle or mat easily. This way there is little damage done when detangling sessions happen weekly – though not everyone prefers these types of weaves! Ensure proper maintenance by removing your weave every two to three weeks, brushing through it with a wide tooth comb or paddle brush before re-attaching.
Removing weave hair extensions:
The best way to remove your weave without causing damage is by using a combination of oil and conditioner before you get in the shower. Oil provides enough lubrication so that it’s easy for your fingers to slide through each strand while removing, preventing unnecessary pulling or tearing at the hairline. It also prevents any tugging near the nape area which can cause breakage when done too roughly!
Conditioner will help ensure that all glue residue comes off easily because it has just enough slip to allow even more gentle movements with minimal discomfort when rinsed away thoroughly afterwards. Additionally, follow up with your favorite deep conditioner every week after installation. (and removal) Until natural hairs are back to full strength! This is so important if you want your hair extensions to last as long as possible.
Wrap Up: If done correctly, the whole process should only take about 30 minutes for installation and removal of weave hair extension strips. Each time with no damage whatsoever. (and that includes at-home maintenance)
Conclusion:
If you are considering hair extensions for the first time, it is important to know what to expect when installing and removing them. We hope these tips have been helpful in understanding how to install and remove hair extensions.