We all know that braids such as Dutch Braids are the go-to hairstyle of every girl for any occasion. The hairstyle suits any time of day for sure. The magic of your fingers in twisting and making strands a then turning those strands into beautiful art woven is breathtaking. But, do you know where Dutch braids were originated from and how to do the braids at home like a pro? Well, don’t you worry. We have gathered all the relevant data to make your work easy. Let’s start.
The timeless Dutch Braids – Everything you need to know
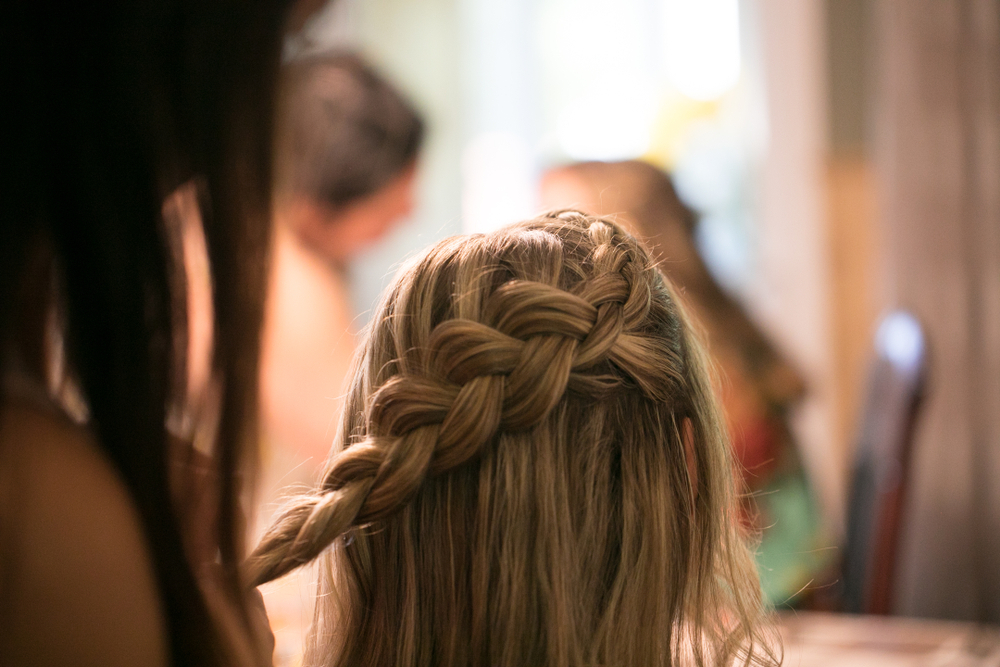
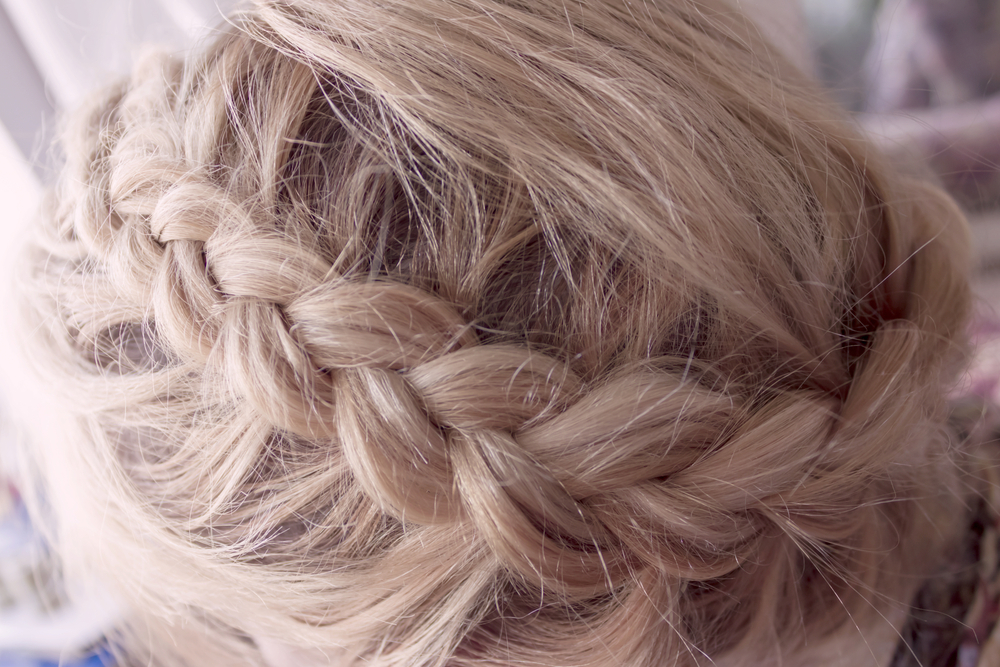
The Dutch braid has various titles, including the “French reverse braid.” The Dutch variant is done just like a French braid, except that you go under rather than over the strands. It may appear not very easy for a novice, but it’s simple! A simple Holland hair braid works for most hair lengths, but you should think about double Dutch braids if you have really short hair.
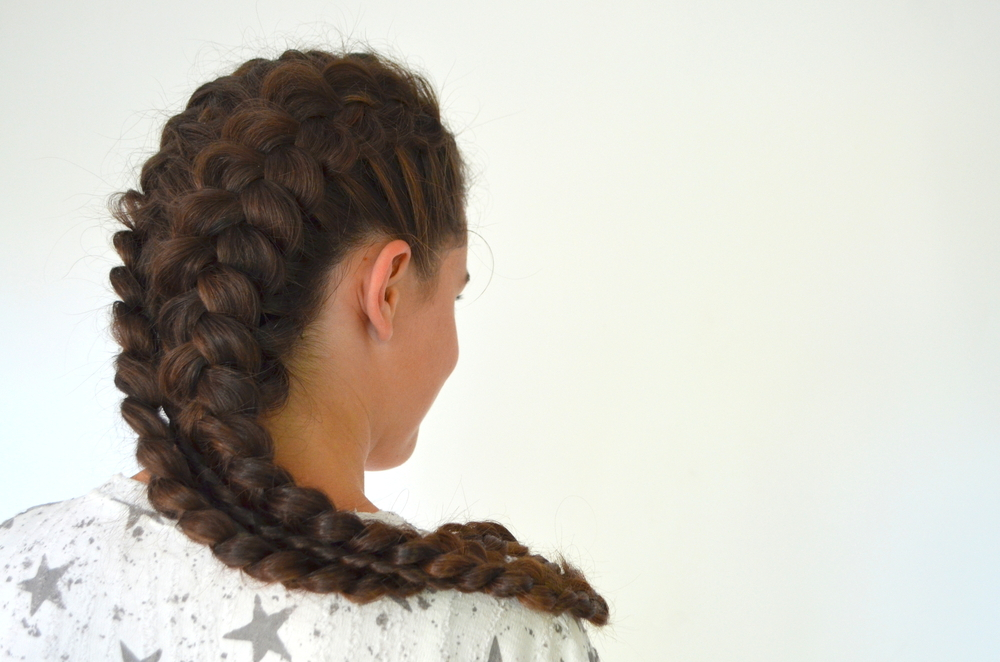
This braid hairstyle may also function as the French braid as a solo braid and the double braid. Often double Dutch braids are called “boxer braids” The Dutch braid also weaves tiny pieces of hair into the braid as you pass from the head’s crown towards the neck. However, it’ll appear a bit different in style. Dutch braid seems less like a cascading braid if you look closer and more like a single braid on the forehead, with hair parts nicely tucked underneath it.
How to Dutch Braid your hair like a Pro
Have you ever thought of doing Dutch braids to your hair by yourself? Ever googled how to Dutch Braid? Well, if yes, then suit yourself. We are going to share a very simple yet fancy method of doing Dutch Braids at home.
Before you begin to braid, you will need these four products: a mirror, a brush, and hair elastics. Quickly pinch your hair to lose any nodes, then make a piece from your forehead to your neck with a comb right down the center of your hair. Choose the side you want to start with and leave it, and you are ready to go. It would be best if you clipped on and off the side you are going to do second. Get prepared to go and warm your arms.
-
So, What’s the Technique?
Start with a tiny part of hair directly on your hairline, like a regular braid. Take this piece and divide it into three pieces, following this familiar rhythm: Pull the upper part of the hair over the center and replace it. Next, pull the bottom part over the centerpiece and replace it.
It is time to add additional hair after two passes. Take a strand of loose hair into the braid with every pass from the top and bottom regions. It is crucial to do this rather than forward with your eyes while drawing the trick to the back of your head. That’s why you’re going to require a mirror. You may feel more natural for a braided front, closer to your chin, but we want these braids to rest flat against our heads, which means that we have to go back.
-
Last but not Least – The Bottom line
When you have put the loose hair in the braid neatly, it’s time to complete the braid. Continue to follow one strand across the other until no hair is left after the usual three-strand method. Next, wrap a hair rubber around the end of the hair so it won’t rip off. Now the second side’s time! Repeat the previous steps, and you’re done.
What’s a French braid?
The classic French braid can be either a single braid or a double braid. The braid of three beaches usually begins at the head crown and goes down to the neck.
This kind of braid varies from a basic braid because, in tiny areas of the hair, it is split into three strands, which makes the braided hair appear as it cascades down the back of the head. The outcome should be the whole of the hair and the scalp tightly. The end is normally sealed with a ponytail when around two centimeters of hair remain, but the precise amount of hair you leave is a matter of personal preference!
Dutch Braids Vs. French Braid – What’s the Difference?
Consider the Dutch braid to be the rendition of the French braid, reversed or the opposite. Technically speaking, it is important to make a French braid that overviews the center portion of the outside hair strands, while the middle region of the outside hair strands is the one you form a Dutch braid.
Both of them are extremely simple hairstyles to play with when you feel comfortable with your braid flow. There truly is no other way except to practice on your hair. Experiment with both braid variants, throwing into interesting hair accessories or pulling strands to create a messy-chic style – but most of all, have a lot of fun with your style!
Finally, both French and Dutch braids are a great way to change your hair any day. After you’ve decided to add them to your skillset, the ponytails appear as just the start. Make it into one braid, two pigtails, or a bun. There are endless options! Remember: choose to go above or below. Not both!
Double Dutch Braids – A fancy alternate of Dutch Braids
The Double Dutch Braid has recently become a trendy online hairdo. We cannot explain how popular it is and how easy it is to replicate. However, there is a very simple technique of doing this at home. Prepare and clean your hair for braiding.
Start braiding the Dutch style using your hair on the right side. To dress your hair in the Dutch, divide it into three strands to start with your hairline. Begin by going over the right strand below the center strand. Then, under the center strand, cross the left side.
Add additional hair to the right strand before you cross it again below the center strand, then repeat it on the left side. Continue to add a little hair on each end until the nape of your neck is reached. Then tighten the braid by knot the hair and repeat the same process with the left part of your hair. And you are done. You can also tie both braids together and make a ponytail into a bun.


Pingback: 4 Ways to Manage Your Time Better with Braid Styles